
|
Home |
| Attendant P | |
 |
 |
 |
 |
| 1. | Switch on the attendant console PC (if it is not already on) and start your operating system  . . |
| 2. | Insert installation CD-ROM. |
| 3. | From the Start menu, click Run and select the setup.exe file on the CD-ROM or DVD drive. |

|
During installation make sure that no other applications are open. Use the CTRL-ALT-DEL function to bring up the "Close program" window and close all programs except explorer and SYSTRAY. |


| 4. | Click the Next button to confirm. |
|
|
You can exit installation at any time by clicking the Cancel button. Any files that were already copied to your hard disk are removed. |

| 5. | Enter a name or designation and the name of your company and click the Next button to confirm your entries. The Choose Destination Location window appears. |

| 6. | You can click Browse to select another directory. The Choose Directory dialog box appears. |

| 7. | After selecting the new directory, click OK to confirm your selection. You are returned to the Choose Destination Directory window. Click the Next button to confirm your selection. The Select Program Folder dialog box appears. |
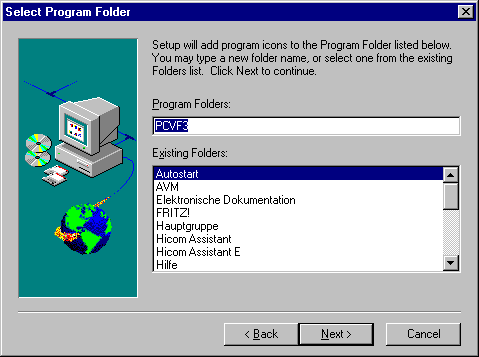
| 8. | Select a name for the program folder that will be added to the Programs menu in the Windows Start bar. This is how you will start the Attendant P in the future. Click the Next button to confirm your selection. The Start Copying Files window appears.. |

| 9. | When you click Next, the installation program copies all the necessary files to the directory selected. The next status box shows you how the copy procedure is progressing. |

| 10. | When the installation CD-ROM has been read in, the message "Setup is creating Icons" is displayed. |


| 11. | Click the Finish button to confirm. Installation has been completed. |
 |
||||
|
||||
|
|
|
||
| HiPath 3000 User and Installation Manual Attendant P | Siemens Part No.: P31003-M1551-B874-3-7619 | Conversion Date: 2002-02-25 | |
| © Siemens AG 2002 | |||