
 |
Home |
| optiClient Attendant | |
 |
 |
 |
 |
When you have finished installing the optiClient Attendant program on the attendant console, start the program.
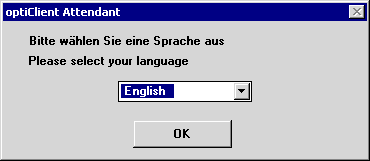
The first time you start optiClient Attendant, a window automatically opens in which you can select the language for optiClient Attendant.
|
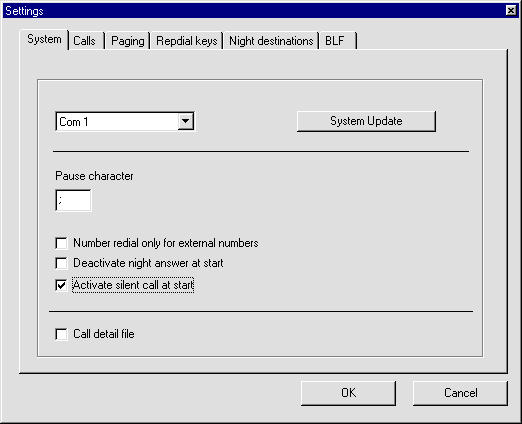
Click OK to confirm your selection. The Settings window automatically opens. You can configure the optiClient Attendant using this window.
(To access this window, select the Settings option from the File menu.)
|
Enter data under the six tabs using the following procedures.
Enter the general settings for the attendant console and determine the connection type in the "System" tab.
 |
Com X / IP: Select the PC interface for the following connection types in the selection list field: |
 |
UP0/E PCI card: "COM 3" or "COM 4" |
 |
optiset control/data adapter: "COM 2" or "COM 1" |
 |
USB: "COM 3" |
 |
optiClient 130 V2.0: "IP" If optiClient 130 V2.0 is not installed, the "IP" option is not offered. |
 |
System Update: The System Update button allows you to request the data needed by the optiClient Attendant from the system. |
 |
Pause character: You can define a character which you will use to generate a deliberate dial pause, for example after dialing the external code (not necessary for digital exchanges). |
 |
Number redial only for external numbers: This option allows you to restrict the number redial list to external calls. |
 |
Deactivate night answer at start: If you select this option, night answer is automatically deactivated (if it was previously activated) when the optiClient Attendant is started. |
 |
Activate silent call at start: If you select this option, the telephone ringer, and thus the ringer signal, is automatically deactivated when the optiClient Attendant is started (does not apply if you have a UP0/E card. |
 |
Call detail file: If you select this option, all toll calls are stored with their values in the call detail file. |
|
|
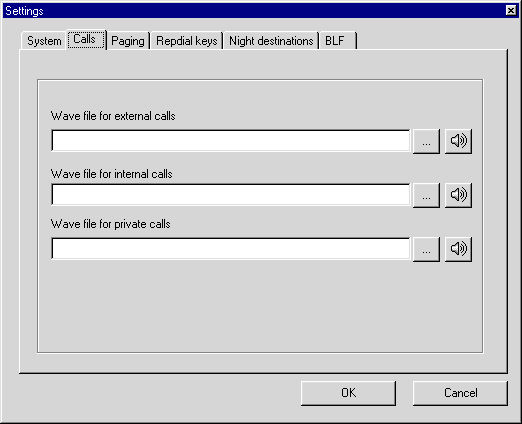
In the other text boxes under this tab, specify the paths to the wave files (included in the software package) for ringer signaling on the PC. You can also assign individual Wave files with the "..." key and play them back with the speaker key.
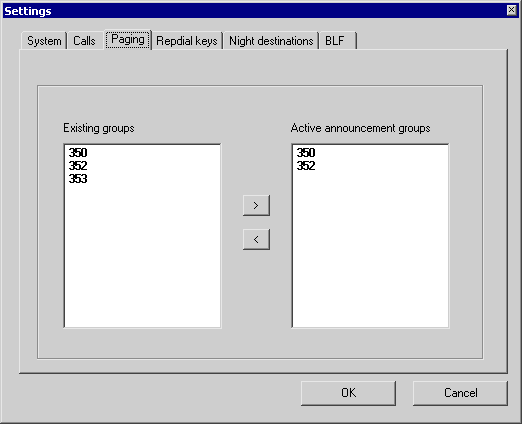
Under the Paging tab, you can configure the existing groups in the communication system as active announcement groups.
|
From the Existing groups box, select the groups that you want to be able to reach with a speaker announcement and transfer them to the Active announcement groups box.
The Paging menu option is now displayed in the optiClient Attendant menu bar. This menu option allows you to issue speaker announcements to the configured groups.
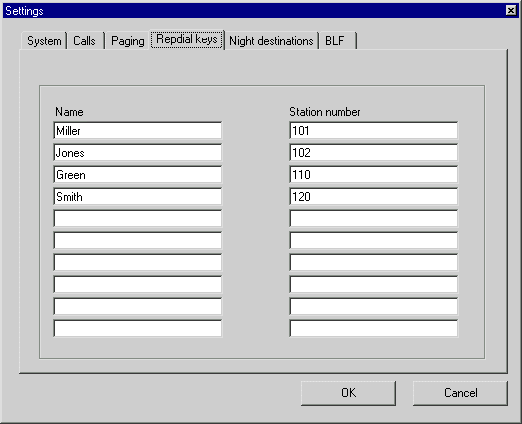
Use the Repdial keys tab to program the ten station numbers or codes you use the most on repertory dial keys. A sequence of codes can be used to control a voice mail system or an answering machine or activate functions on the communication server (such as entering "#82 to display the caller list).
Under the Repdial keys tab, you can configure repertory dial keys for ten frequently used station numbers or codes (such as for controlling a voice mail system or answering machine).
|
In the input fields, enter either the name and station number of the station your wish to reach or the name and code for controlling a voice mail system or answering machine.
The Repdial keys menu option is now displayed in the optiClient Attendant menu bar. This option provides you with a pull-down menu from which you can call the configured stations and access the configured functions directly.
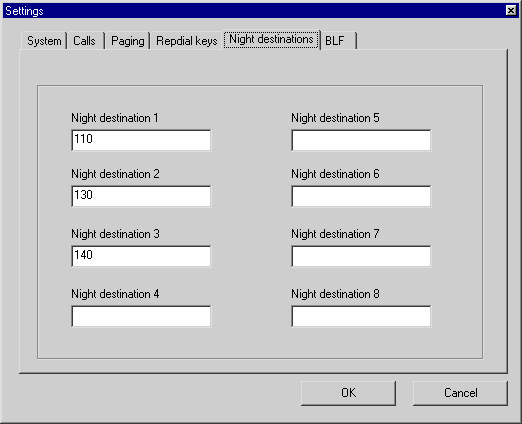
You can enter up to eight different night destinations under the Night destinations tab. You can then select the Change night dest. option from the Edit menu to choose a night destination and activate it by clicking the night answer button in the toolbar. All calls are then forwarded to this
destination.
|
|
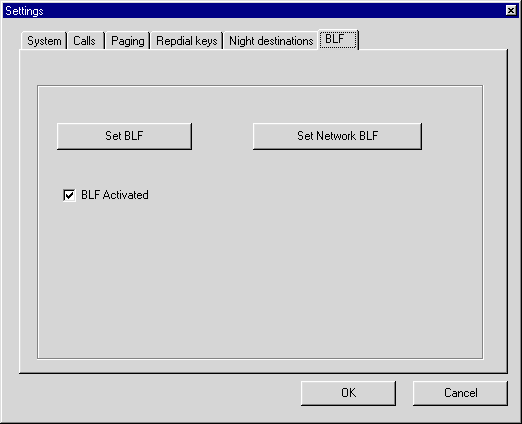
You can enter the settings for the busy lamp field (BLF) under the BLF tab. The BLF consists of 16 cards with altogether 2400 status keys that you can use to call system users directly. You can manually assign ( ) or automatically set each status button to an internal station.
|
|
Step by Step |
||||||||

|
When you click the Set BLF button, the system first removes all station numbers from the first two BLF cards and then enters the stations configured in the communication system, sorted by number. For example, if a station configured in the BLF is assigned another station number, its station number in the BLF is not replaced until you update the BLF.
|
|
Step by Step |
||

|
Click the "Set Network BLF" button.
|
|
|
|
Select "All" to distribute the entries to all cards beginning with card 3. You should select this option if the file contains more than 150 entries. |
|
|
or
|
|
|
|
|
Select "Card 3" to "Card 16" to enter entries on the card required. If the file contains more than 150 entries, only the first 150 entries are taken. |
|

|
Confirm the dialog box with the "OK" button. |
|

|
Confirm your input in the "Settings" window with the "OK" button. |
Activate the "BLF Activated" option with a check mark if you want the busy lamp field to be loaded automatically every time you start optiClient Attendant.
 |
||||
 |
||||
 |
 |
 |
||
| HiPath 3000 - User and Installation Manual - optiClient Attendant | P31003-H1012-C109-1-7619 | Conversion Date: 2002-01-25 | |
| © Siemens AG, München, 2002 | |||